Redwood End Table
October - December, 2022
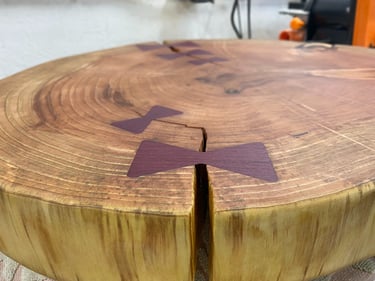
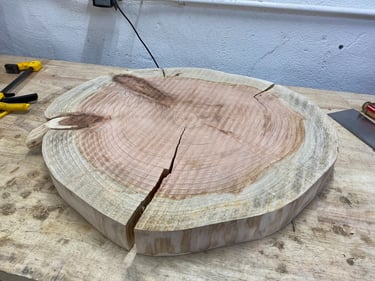
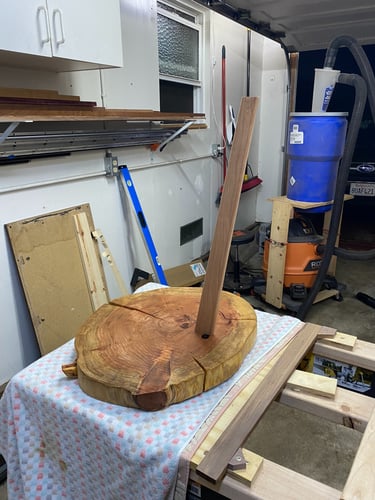
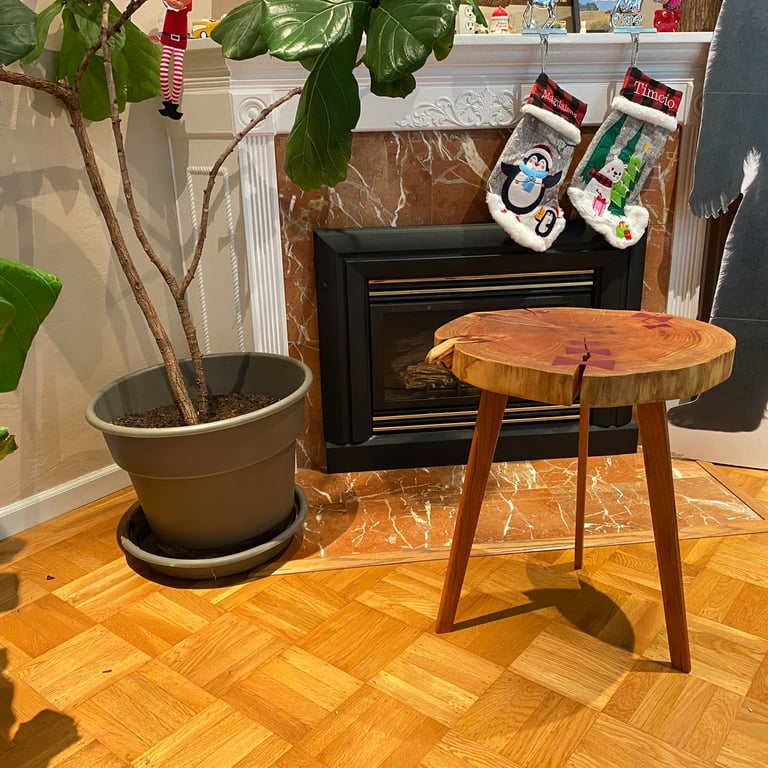
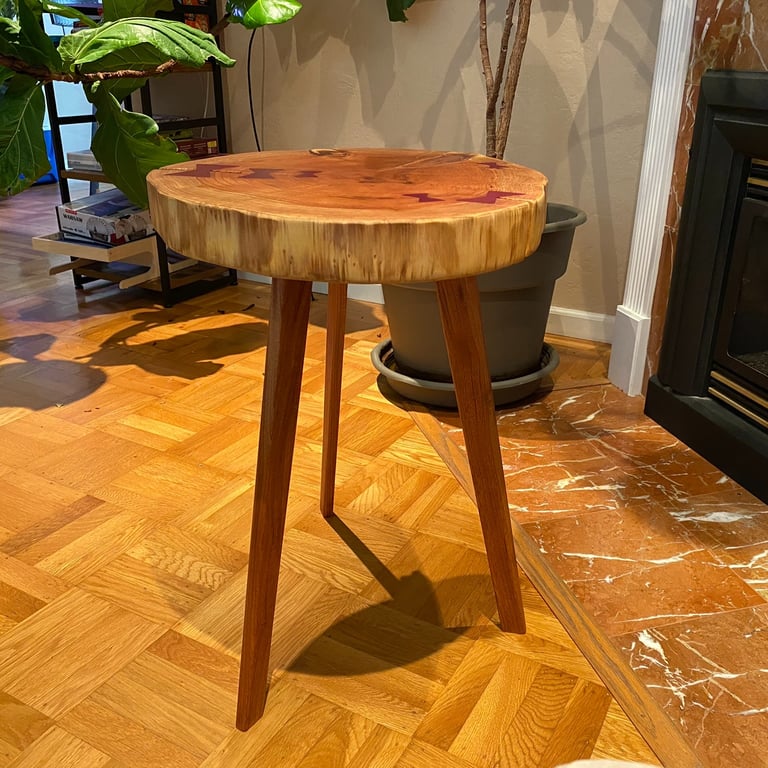
This project was a Christmas gift for my parents. The redwood cookie nearly became scrap wood after substantial cracking. But I stuck with it and made it work. The table is now on display in my parent's home in Vermont.
Technical Details
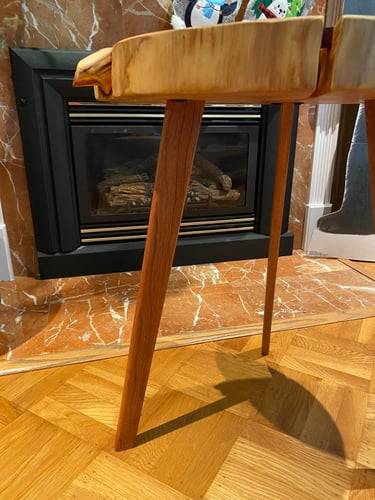
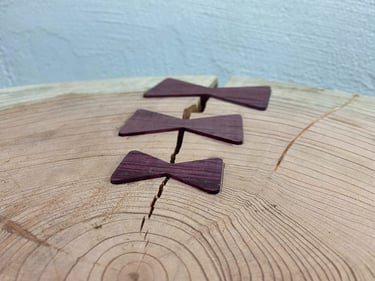
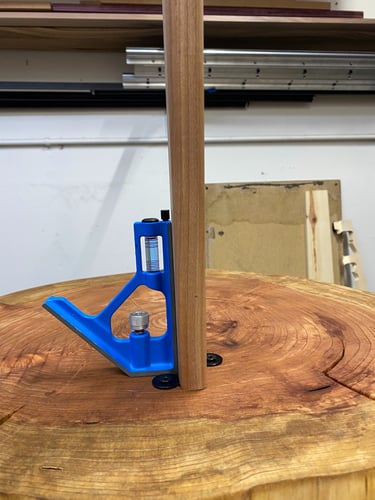
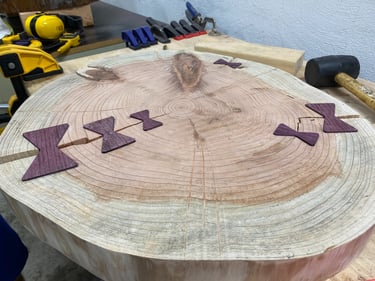
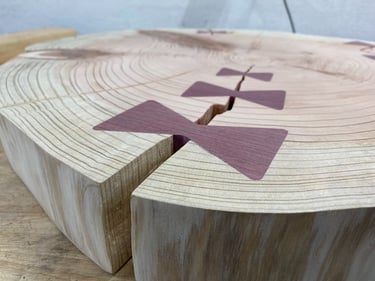
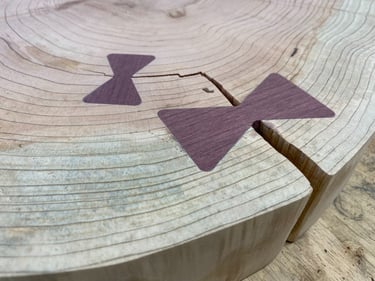
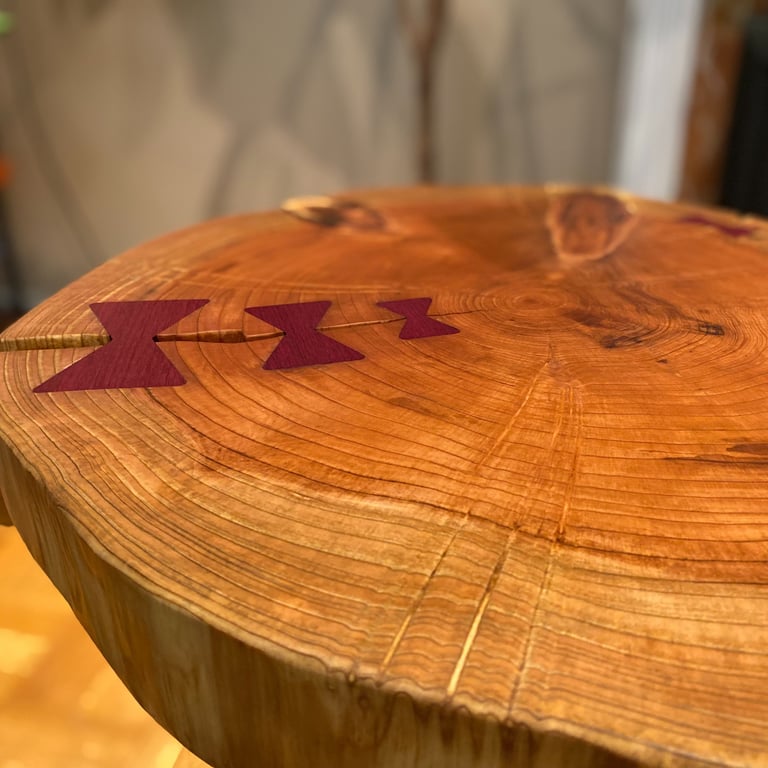
Woods Used: Redwood slab with purpleheart bowtie inlays and sapele legs (can be removed for transport)
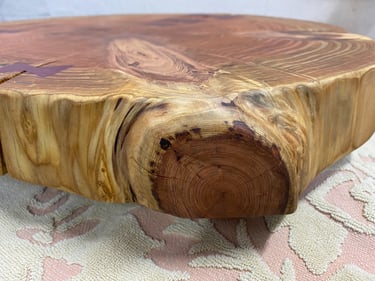
Slab Size: Approx. 20in diameter
Table Height: 25.6in
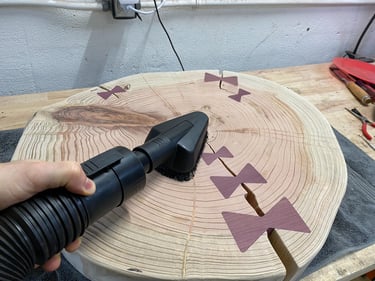
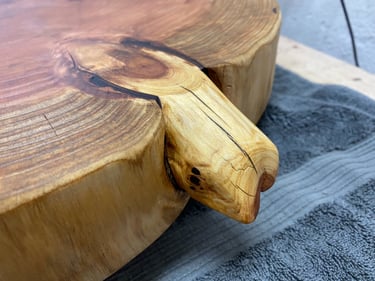
Finish: 220grit followed by hardwax oil (Rubio Monocoat) and ceramic top coat (Black Forrest)
Project Challenges and Lessons Learned:
I initially thought working on a redwood slab would be easy compared to the hardwoods I had done thus far - I was completely wrong. So much went wrong with this project that it is a miracle it worked out in the end. So why is redwood difficult to work with? From my first and only experience so far, I would say there are at least 3 reasons:
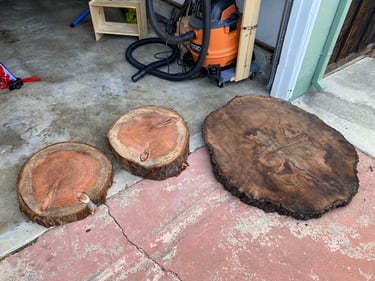
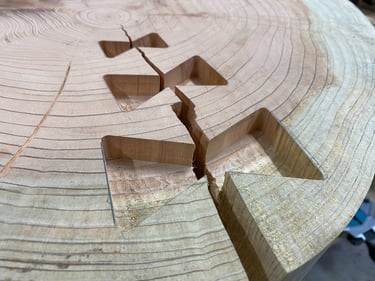
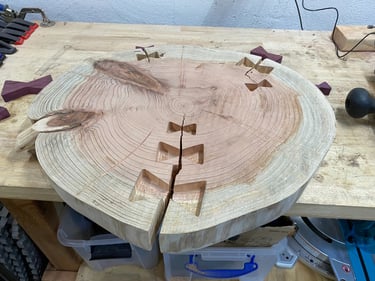
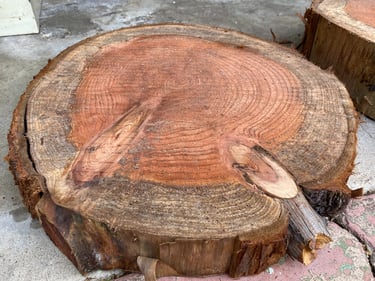
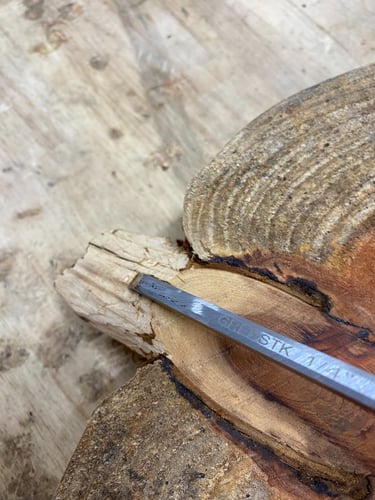
1. Porous Grain: Redwood has a very porous grain that acts like a sponge, causing both water and oil to penetrate deeply and unevenly. This slab was destined for trouble right from the start. I was hunting for a walnut cookie and came across a slab shop in Halfmoon Bay, CA. The owner gave me a great deal: 40% off the walnut plus 2 redwood cookies thrown in there for free - sold! I took it all home and patiently let them air dry, closely monitoring with my moisture meter. The redwood slabs were saturated with water. A heatwave hit our area shortly after I left the slabs in the garage at the end of summer, turning the garage into an oven. The rapid water evaporation caused enough internal stress to crack the slab in three separate areas. The porous nature of redwood also made the finishing process difficult as the oil absorbed inconsistently. It took me two attempts to get the finish right.
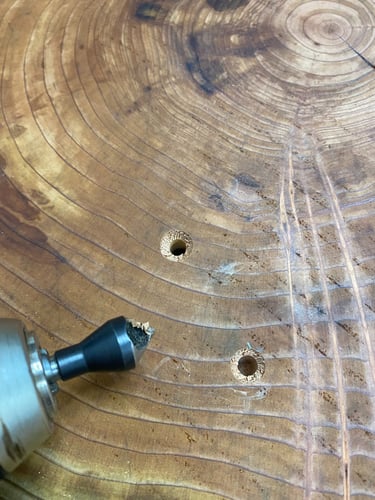
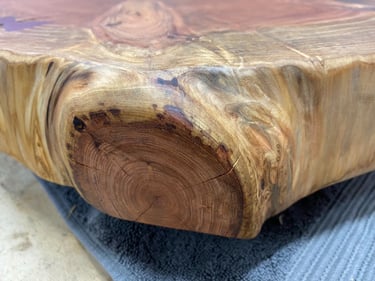
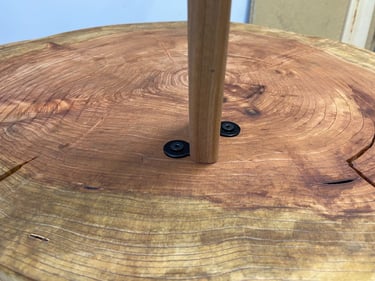
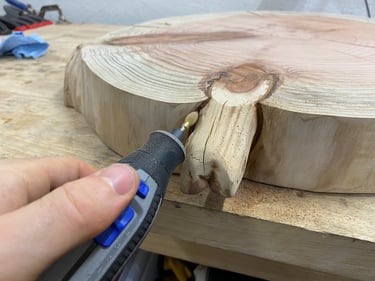
2. Inconsistent Hardness: Redwood is generally soft but can contain substantially harder knots. This difference in hardness can make sanding particularly difficult. The softwood areas are really soft, and the knots are really hard. Even a second or two of extra sanding in a particular area can cause dips and unevenness. The softness also affects the structural integrity, complicating the attachment of leg hardware. I ended up needing to use internally threaded standoffs pressed into a hole with adhesive rather than externally threaded inserts that just tended to chew up the wood.
3. Tannic acid: Redwood naturally produces tannic acid to resist fungus and termites, leading to spotty or blotchy black patterns that resemble mold and can not be fully sanded away. If you do a good job sanding, cleaning, and finishing the slab it comes out alright, but your best bet is to start with a cut that doesn't have as much built up. Besides bleaching your wood (which will affect the surrounding red color) I do not have a solution for this yet.
Despite these challenges, I have another redwood cookie in the garage (also cracked...) waiting to be made into something. I am excited to apply what I learned from this project to the next one.
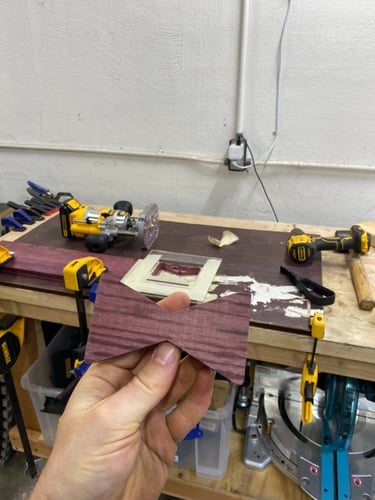
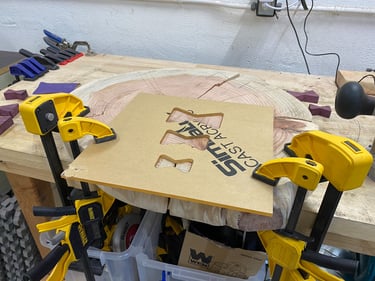
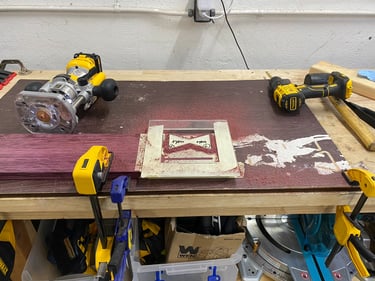
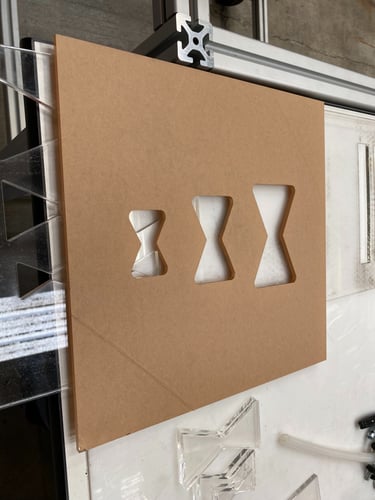
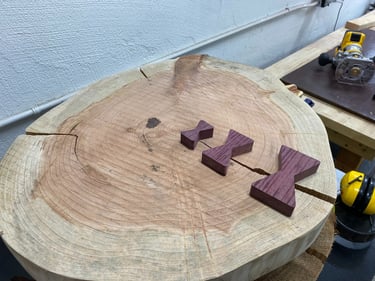
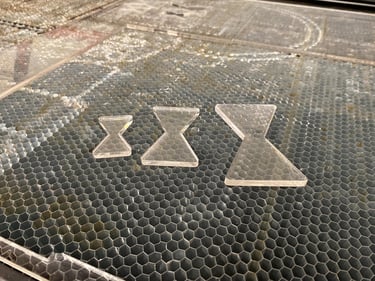
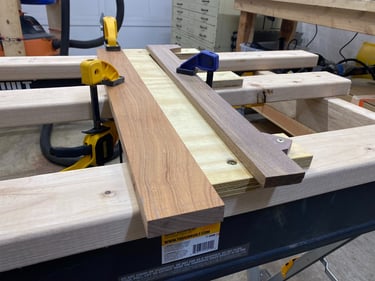
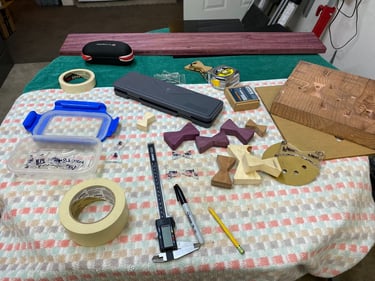
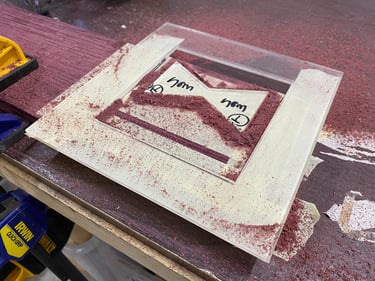
I wanted to also make a quick note regarding the bowties. Since I had to make a good number of them I tried out a new technique using my hand router. I made custom acrylic templates for both the positives and the negatives. The negative are pretty straight forward. The positive involved a bit more creativity on how to fixture the template. Taking my time with multiple passes worked pretty well. The small ones were more difficult. I honestly have not found many people online that did it my way where you route around the outside of a template instead of the inside. I think this works better, but maybe I am just bad with a hand router.